A Raspberry Pi can be your own home server for files, ad blocking, or media, and it costs less than a year of most cloud plans. This beginner-friendly tutorial walks you through the whole setup in 5 easy steps, with no Linux experience needed, and by the end you will have a small computer working for you around the clock. It uses very little power, so you can leave it running all day and night for just a few dollars a year in electricity.
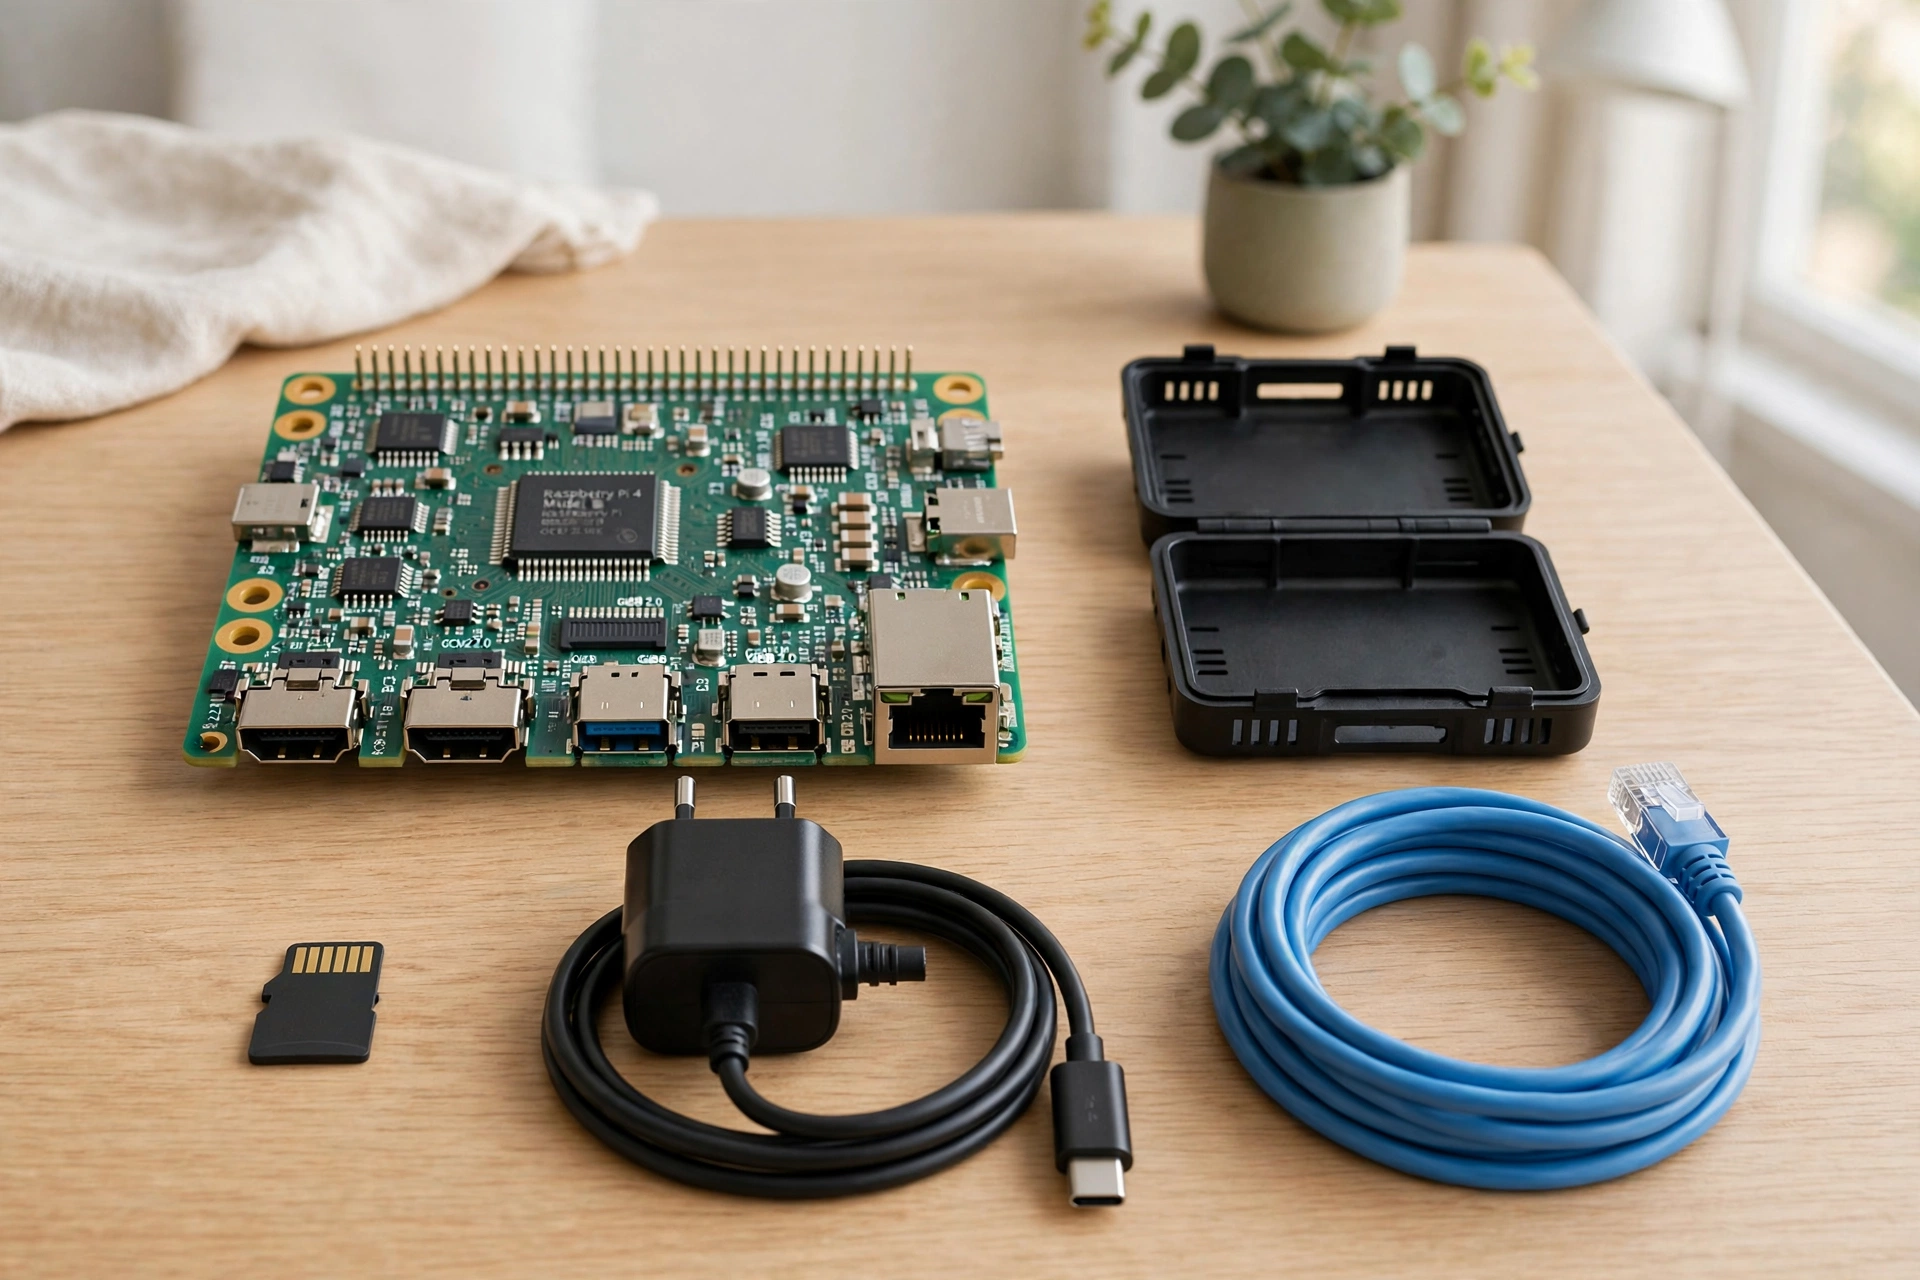
What you need
- Raspberry Pi 4 (4GB recommended)
- 32GB microSD card
- USB-C power supply
- Ethernet cable
- A case for your Pi
- A laptop for setup
Step 1: What you need. Gather a Raspberry Pi 4 (4GB recommended), a 32GB microSD card, a USB-C power supply, an Ethernet cable, a case, and a laptop. A Pi 3 also works for light use, but the Pi 4 is faster for file sharing and media, so it is worth the small extra cost if you are buying new.
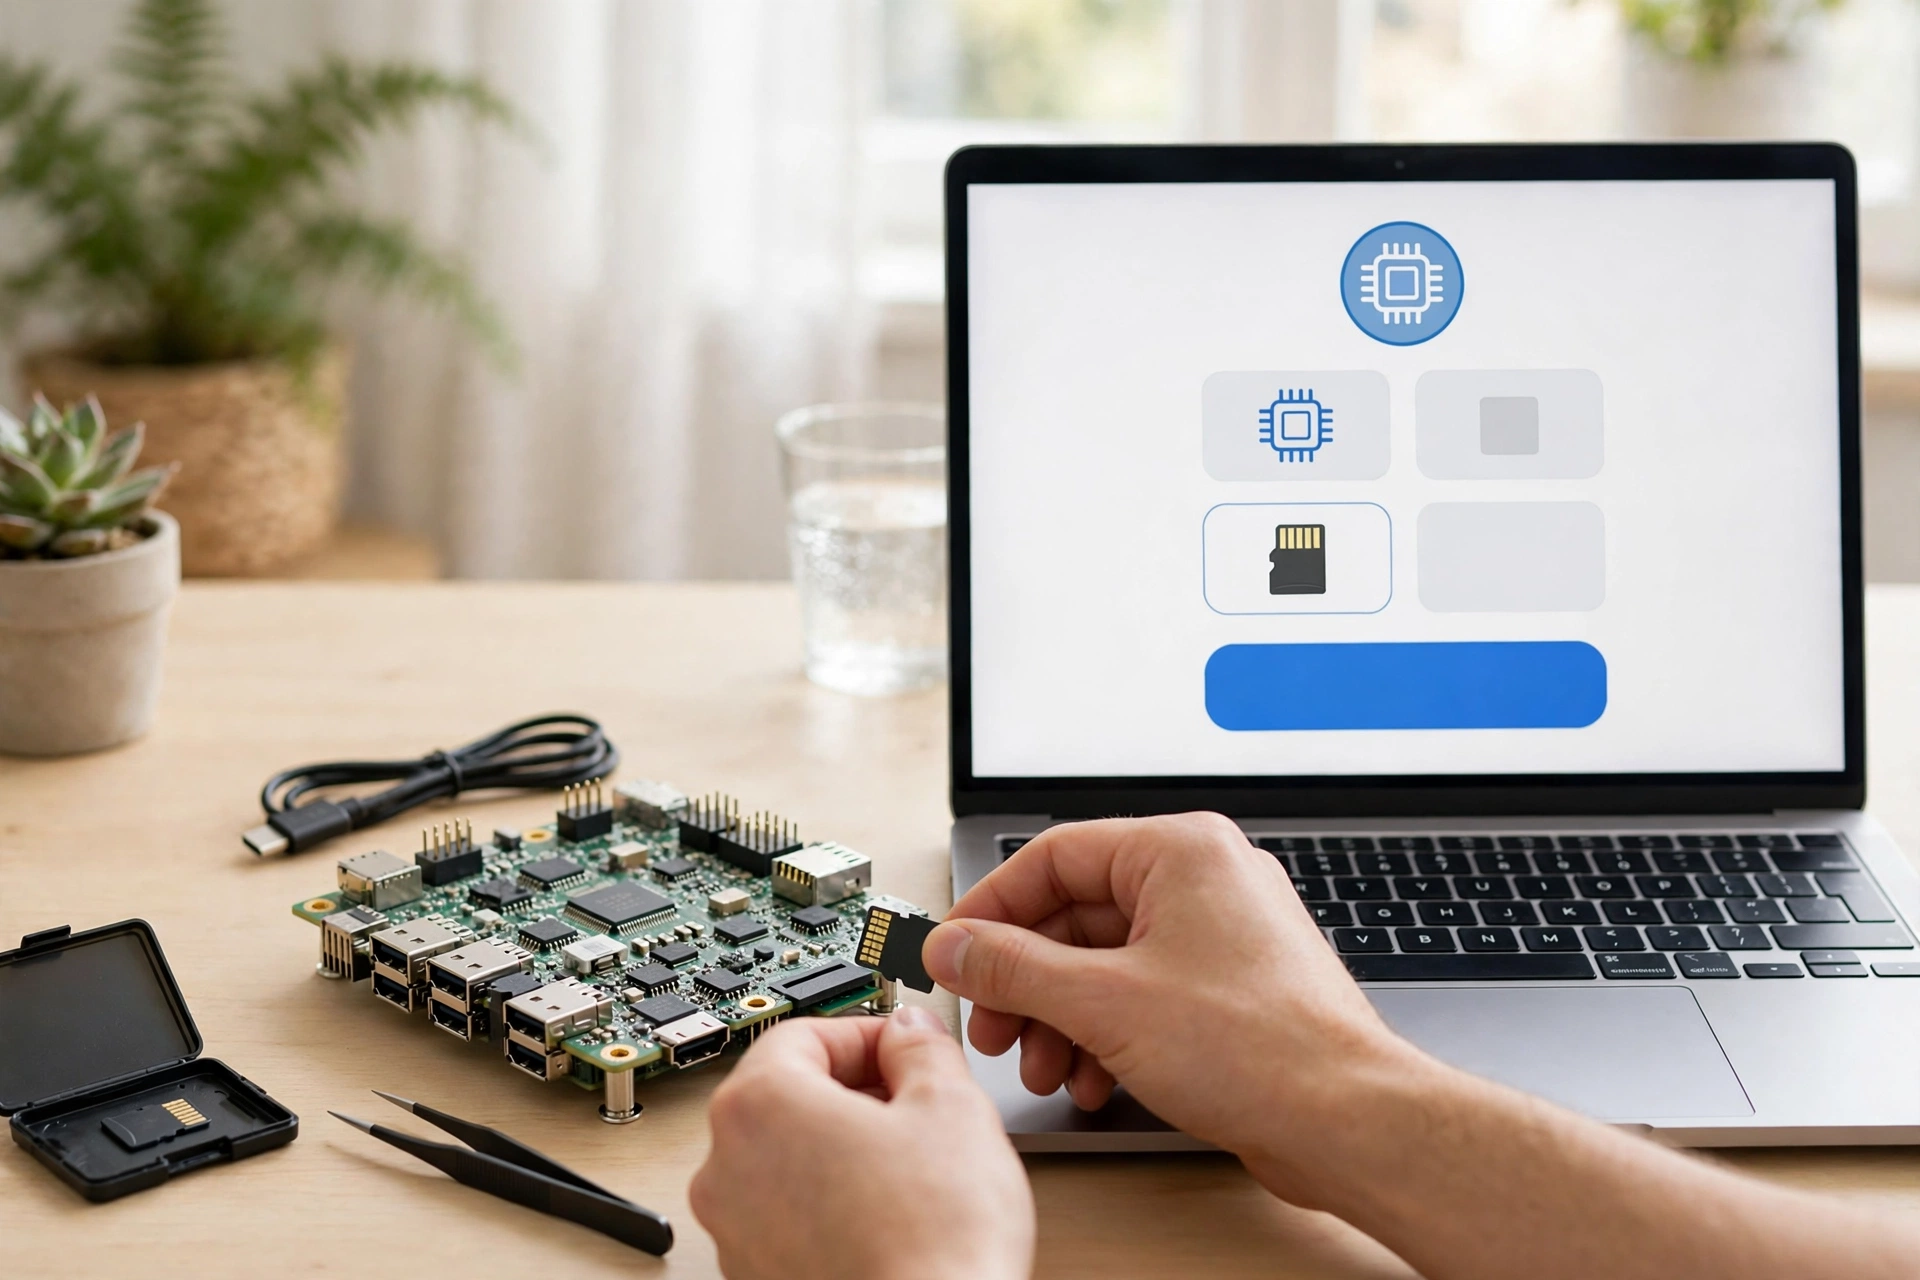
Step 2: Install the OS. Download Raspberry Pi Imager on your laptop, choose Raspberry Pi OS Lite (64-bit), and write it to the microSD card. Enable SSH in the Imager settings before you write the card, so you can log in without a screen or keyboard, then insert the card into the Pi.
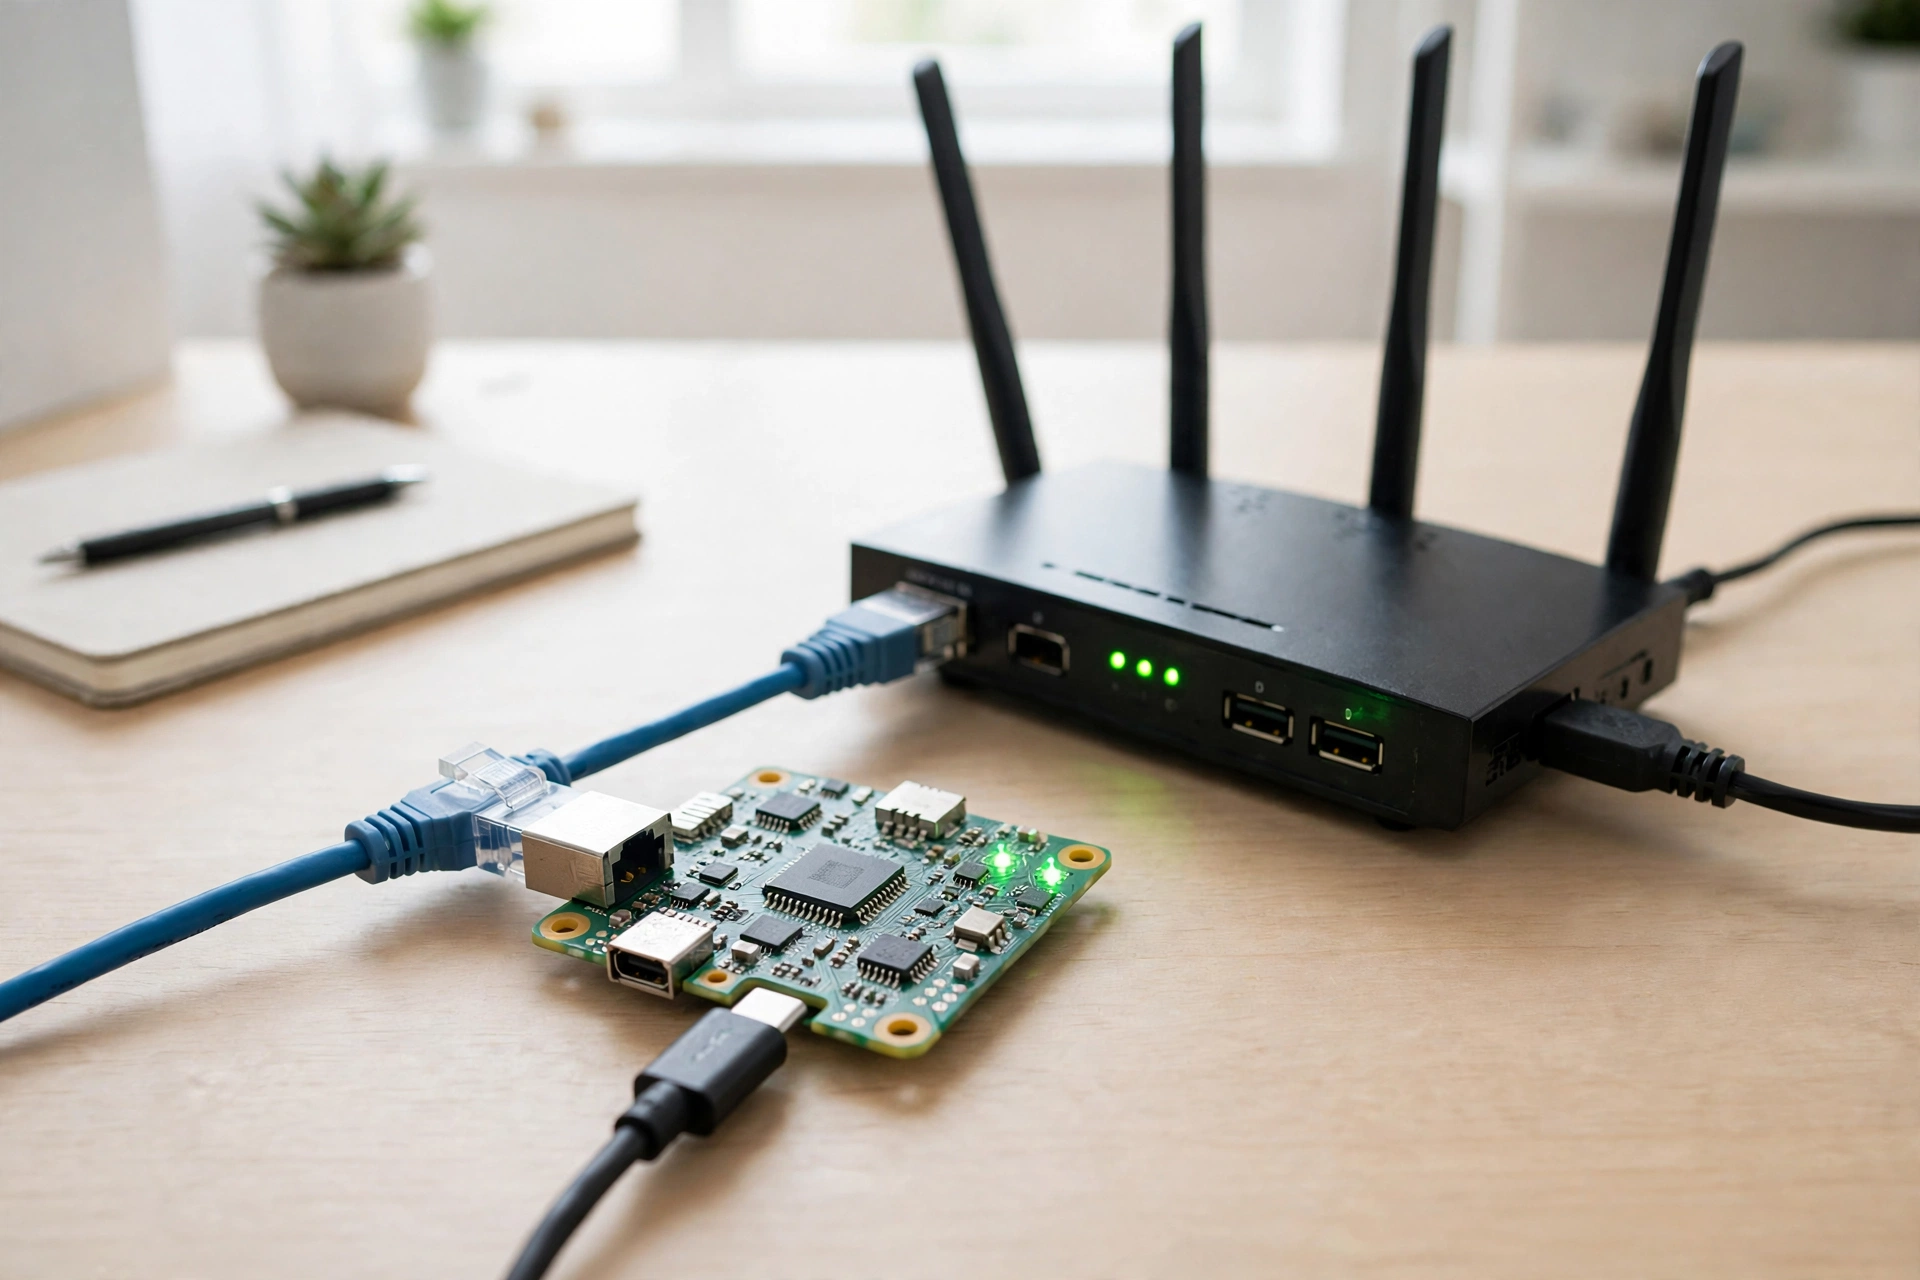
Step 3: Connect and boot up. Connect the Ethernet cable and the power supply, then wait 1 to 2 minutes for the first boot to finish. Find the Pi's IP address in your router's device list, then log in with SSH from your laptop using the default username and password. If the Pi does not appear in the list, check the cable is pushed in fully and reboot your router.
Step 4: Install server software. Update the system first with the package manager, then install what you need — for example Samba for file sharing, Pi-hole for ad blocking, or Jellyfin or Plex for a media server. Install one service at a time and test it before adding the next, so a problem in one service never hides a problem in another.
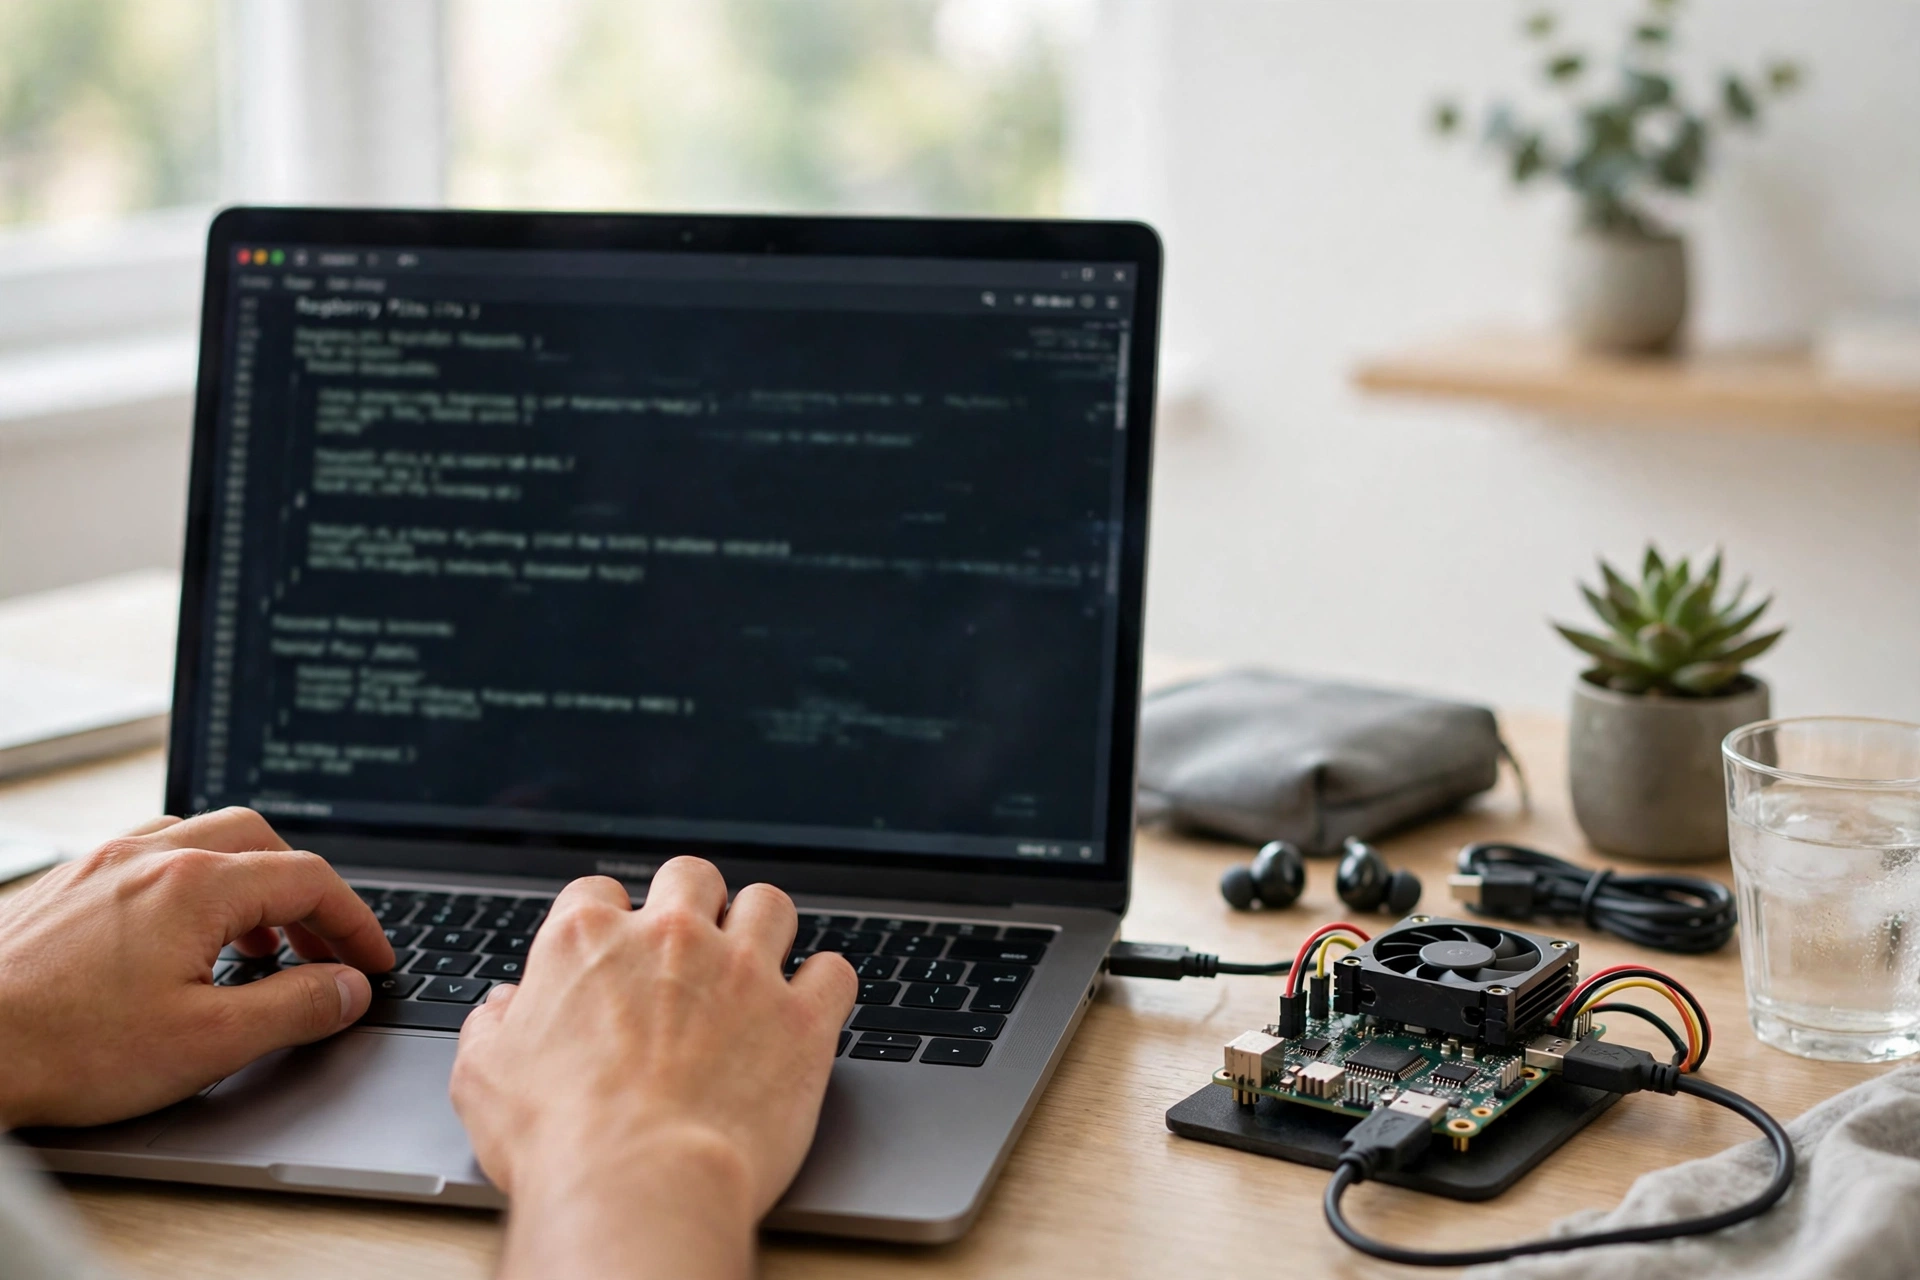
Step 5: Access and secure it. Open your server from your phone or laptop on the same Wi-Fi and check that everything you installed works. Change the default password, set a static IP address or hostname, keep the system updated, and back up your microSD card, so a failed card never means lost files.

Shop This Project