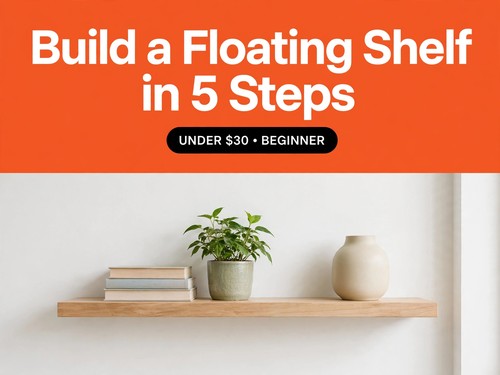
A floating shelf looks expensive, but you can build one in an afternoon with basic tools. This beginner-friendly tutorial walks you through the whole project in 5 simple steps, for under $30.
Tools you need: drill, level, stud finder, wood board, brackets and screws, sandpaper, and paint or stain.
Materials and cost: one wood board, a pair of hidden floating-shelf brackets, screws and wall plugs, sandpaper, and paint or stain. All in, this project costs under $30.
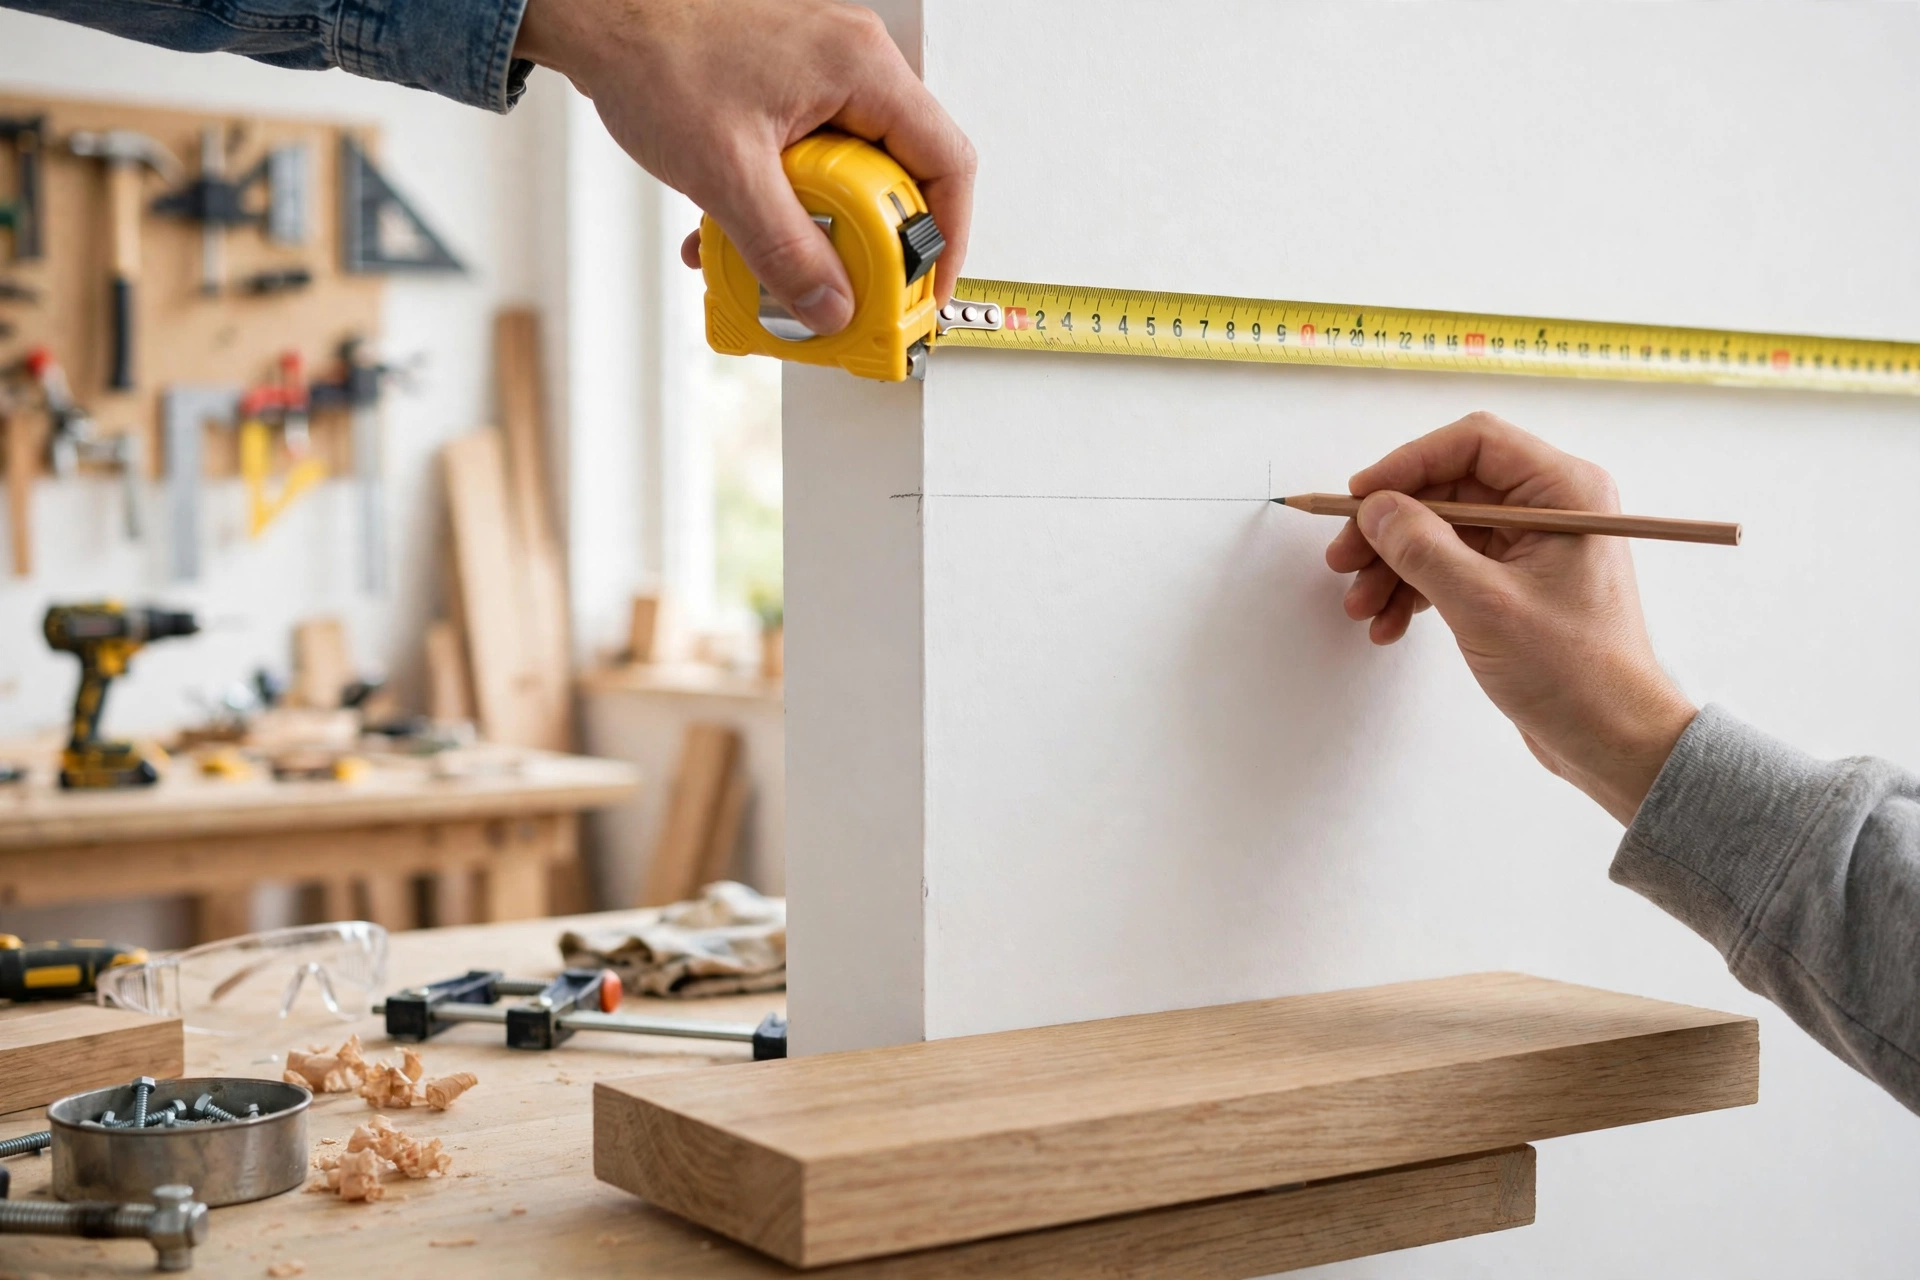
Step 1: Measure and mark. Decide where the shelf will go, then mark the height on the wall with a pencil and a level.
A shelf 24 to 36 inches long suits most rooms, and hanging it 5 to 6 feet from the floor puts it at a comfortable eye level. Draw your line with a level so the shelf does not slope, and mark twice before you drill — a second check catches a crooked line before it becomes a crooked shelf.
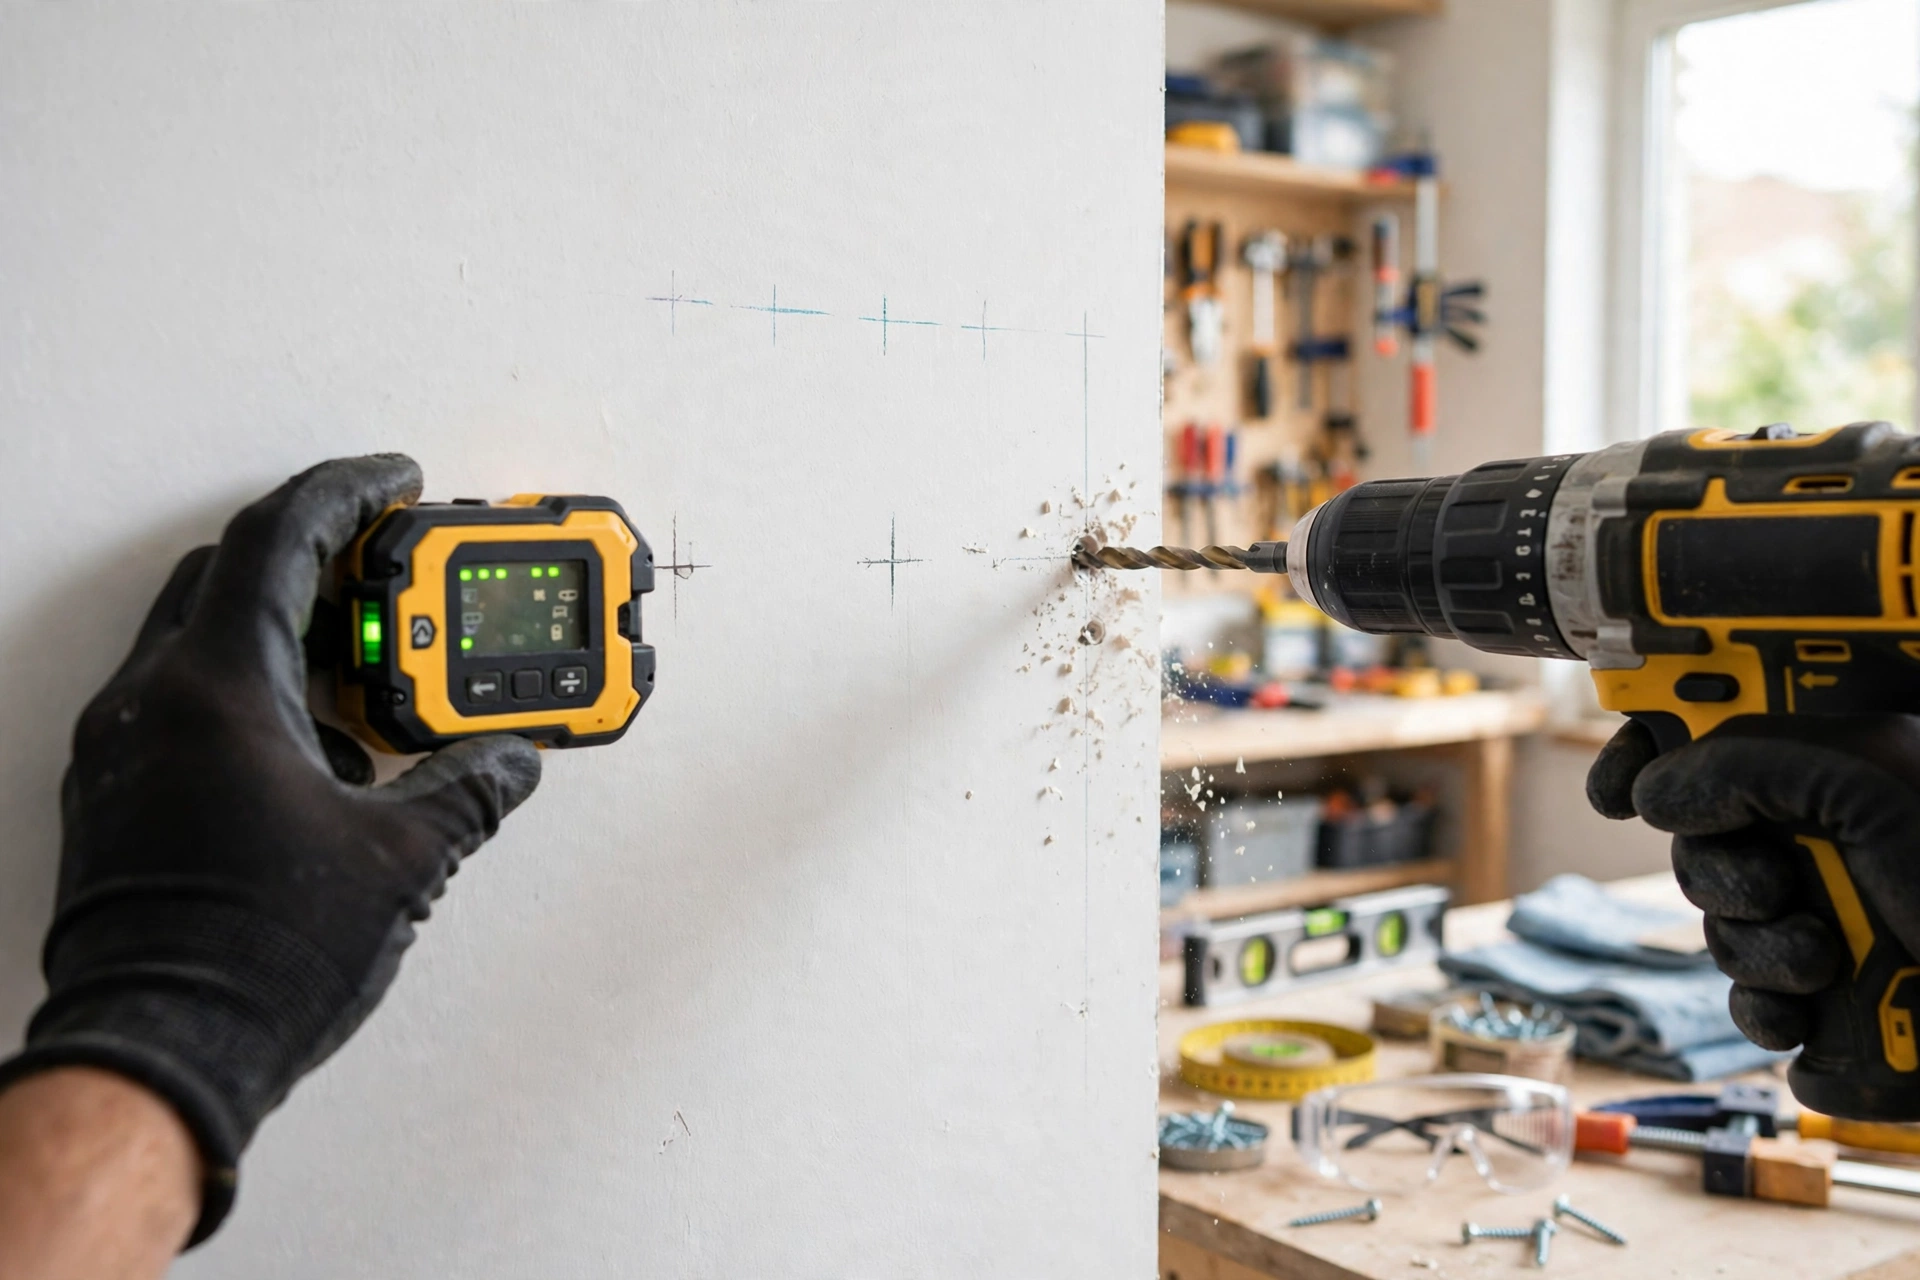
Step 2: Find studs and drill. Use a stud finder to locate the studs, mark them, and drill pilot holes for the bracket screws.
Studs are usually 16 inches apart, so once you find one, the next is often a short step away. Drill pilot holes so the wood does not split, and if there is no stud where you need one, use wall plugs rated for the shelf's weight.
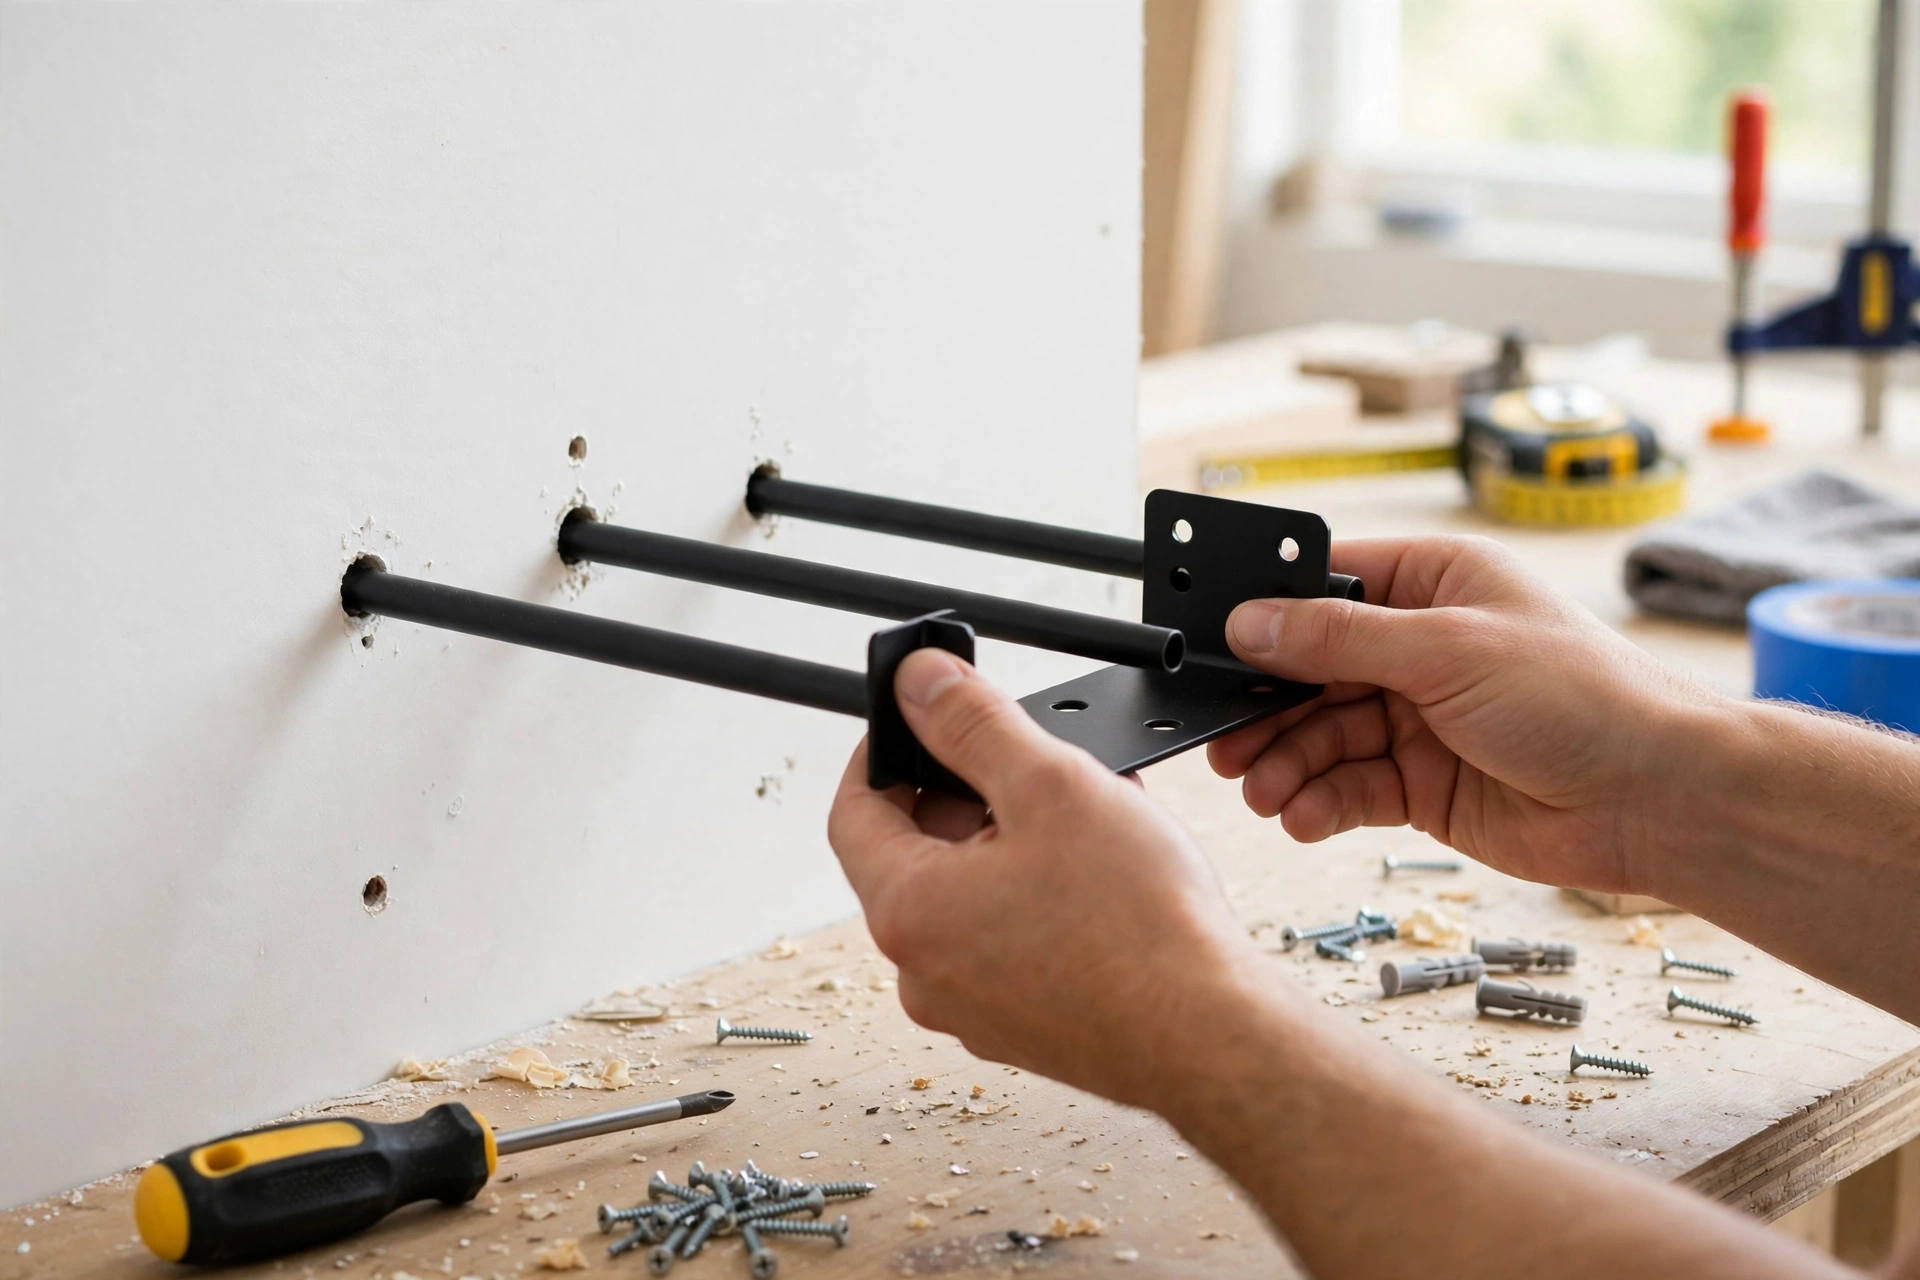
Step 3: Fit brackets. Screw the brackets into the studs, check they are level, and tighten them firmly.
Space the brackets 12 to 16 inches apart so the board is supported along its length. Tighten the screws fully, but check the brackets with a level before the final tightening, because a tilted bracket means a tilted shelf.
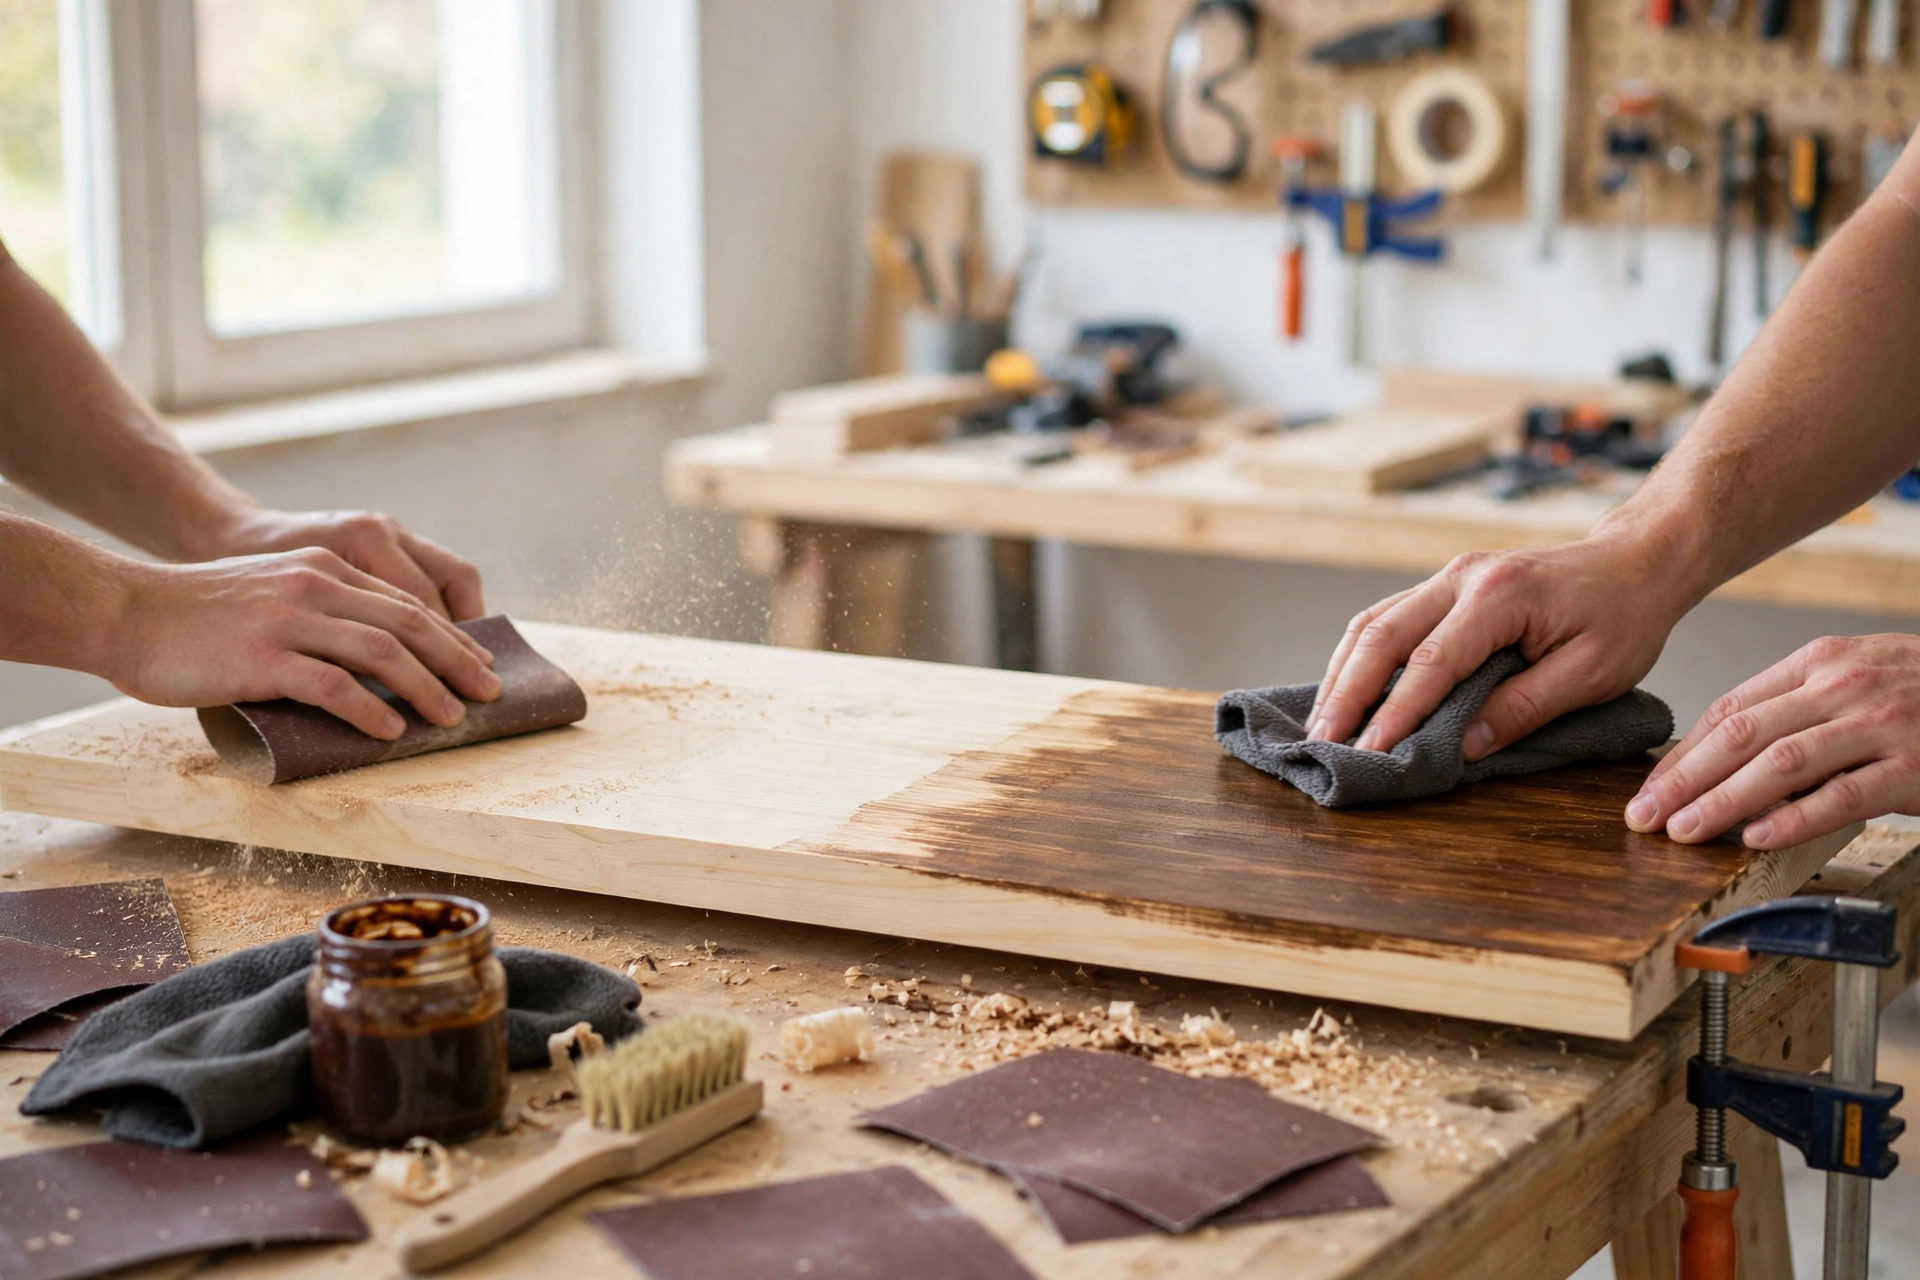
Step 4: Sand and finish the board. Sand the board smooth, wipe off the dust, then paint or stain it and let it dry fully.
Sand with 120 grit first, then finish with 220 grit for a smooth surface. Wipe away all the dust, then apply 2 coats of stain or paint and let each coat dry for 2 to 4 hours before you mount the board.
Step 5: Mount and style it. Slide the board onto the brackets, fix it in place, and style it with books, plants, or photos.
Slide the board onto the bracket rods and push it fully home so it sits tight against the wall. Test it with a light weight first, then style it with books or plants — but do not overload it, or the brackets can pull out of the wall.
Shop For This Project